
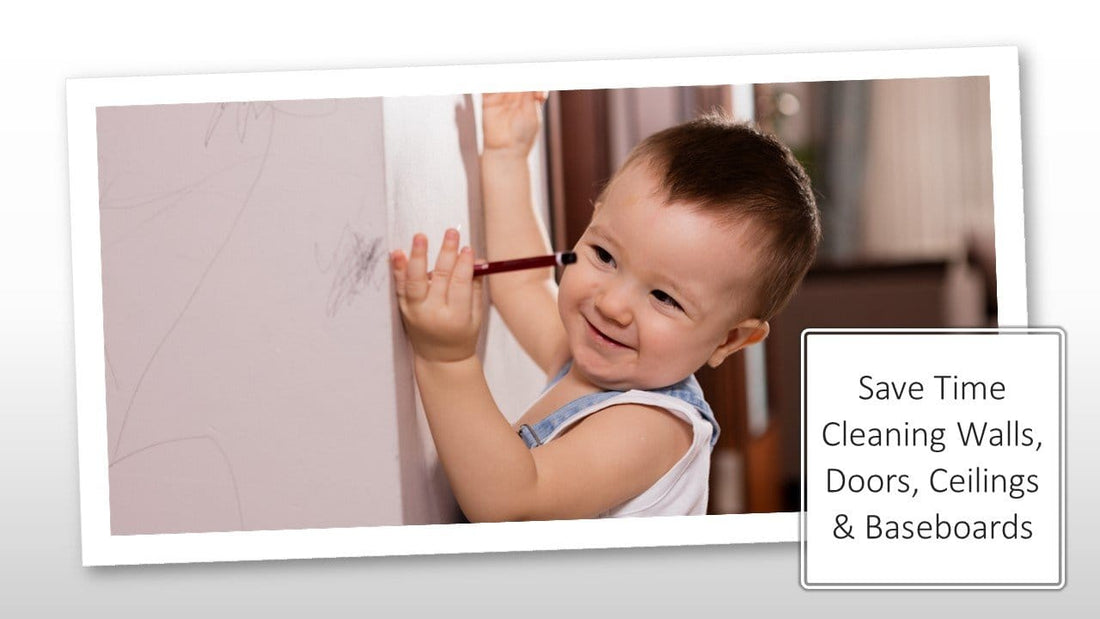
Save Time Cleaning Walls, Doors, Ceilings and Baseboards
Save Time Cleaning Walls, Doors, Ceilings and Baseboards
Cleaning Walls Doors, Ceilings, and Baseboards were not an everyday chore, but somehow as a kid, we did it way more often than we wanted to. I remember experiencing lightheadedness from what I thought was from the constant bending down to rinse my rag in the bucket when really, I was probably experiencing off-gassing from toxic fumes. This was no doubt my first exposure to workplace hazard while performing house cleaning chores. Back pain from extended kneeling on the floor to scrub baseboards or reach high made it dreadful and exhausting. However, with one scoop of Powerizer in a bucket, everything is different. You can pour it, wipe it, sponge it, and mop it. We did this to clean an entire bathroom with just one product. It’s a never-ending germ cesspool, and with all the moisture from the shower, the walls, doors, ceilings, and cabinets accumulate lint, hair, fingerprints, and brown water spots that are easily cleaned with Powerizer Complete.
To do this, we recommend investing in the best tools, not more products. Here is what we used to handle cleaning walls, doors, ceilings, and baseboards.

Our goal in cleaning is to use a highly effective product made of plant and mineral-based ingredients that saves the consumer time, energy, and money. Also, when your surfaces dry, there is no lingering odor or residues left behind. Just following these 4 simple steps to achieve the best result.
Step 1. Dust
Dust the surfaces to remove debris like hair, lint, and dust using the Wonderwedgie microfiber mop. First, attach a damp split fiber microfiber cloth to the head of the mop head, as seen in the image below.
Secure both ends of the cloth to cover the entire head of the Wonderwedgie mop. Start with the ceiling first, walls second, and the baseboards last. Sweep or vacuum up all the debris from the floor before it gets wet from the washing step.

Step 2. Wash
Make a wash solution using one (1) scoop of Powerizer Complete to one (1) gallon of water in a bucket suitable for your task. If you're using the WonderWedgie mop to attack the higher walls, use a bucket large enough to submerge the entire head into the water. For washing other surfaces, a smaller sanitize bucket may be a better choice. Proceed to scrub and wash the surfaces using a dish scrubber or a microfiber cloth. Powerizer Complete includes a oxygen bleach powder called Sodium Percarbonate, (It contains 32.5% by weight of hydrogen peroxide) along with TAED (Tetraacetylethylenediamine) which allows for an effective supercharged cleaning even in cold waters. You can now rest assured your walls, doors, ceiling, and baseboards are immaculate. If you're using a WonderWedgie tool, switch out your cloth to a clean microfiber cloth, especially if the fabric used for dusting cloth is too dirty. The last thing you want to apply more dirt, hair, and lint to the walls.


Step 3. Rinse
When using any detergent for laundry and dish cleaning, there must always be a rinse cycle. When cleaning surfaces like walls, doors, ceilings, and baseboards, you should not skip the rinse step. The process is necessary to remove residues and leftover detergent. Besides, the surface becomes less likely to accumulate or attract more dirt. To do so, saturate the wall using plain water to rinse the surfaces thoroughly. This may get a little wet, but if your below surface can be mopped, plan on using the Powerizer flushed from the walls to spread around the floor. If your surface below is carpet, you may want to simply wipe with plain water and a damp split-fiber microfiber cloth. Another option is to use a spray bottle filled with plain water and moisten the wall in smaller 5'x5 sections. Apply just enough water to move a squeegee across the surface like you would to clean windows. Once you start, the residues begin to cascade down the wall. This extra step reveals a compelling story of a clean versus residue covered surface.

Step 4. Polish
The final step is to go over the surface you just rinsed using a clean, dry, split fiber microfiber cloth to polish away any water streaks and remove any residue from the detergent. As you wipe, you will feel a slight drag in the fabric as it moves across residue. Add a spritz of water to the surface and wipe the surface again. You will know the residues are removed when the cloth simply glides across the surface with no more hesitation.
Check out this image of what a split fiber looks like under a microscope. This is a clear example of how using the best tools saves you time. A quick wipe using a split fiber microfiber cloth to dry a dish proves why a split-fiber microfiber cloth is a superior tool for dusting and polishing than a traditional cotton fiber cloth.
For even more background on safer choice cleaning, check out the EPA study on cleaning floors using microfiber cloths in hospitals. After mopping with plain water and a microfiber cloth, a bacteria culture showed 99% of bacteria, and 93% of viruses were removed from the surface. The study found that microfiber can penetrate surface pores and remove dust particles that conventional mops miss. Powerizer's Ultra Plush Microfiber Cloth paired with Powerizer Complete is the best grime, mold, lint, and dirtballs fighting superhero duo in cleaning. Give it a try for yourself. You may find an even better technique than ours, the possibilities are endless.
For more information cleaning with a split fiber microfiber cleaning cloth check out this blog.
To learn more about how to get rid of third hand smoke with Powerizer check out this blog.
To see more examples of how the Wonderwedgie mop effectively cleans surfaces check out this blog on cleaning laminate floors.